
|
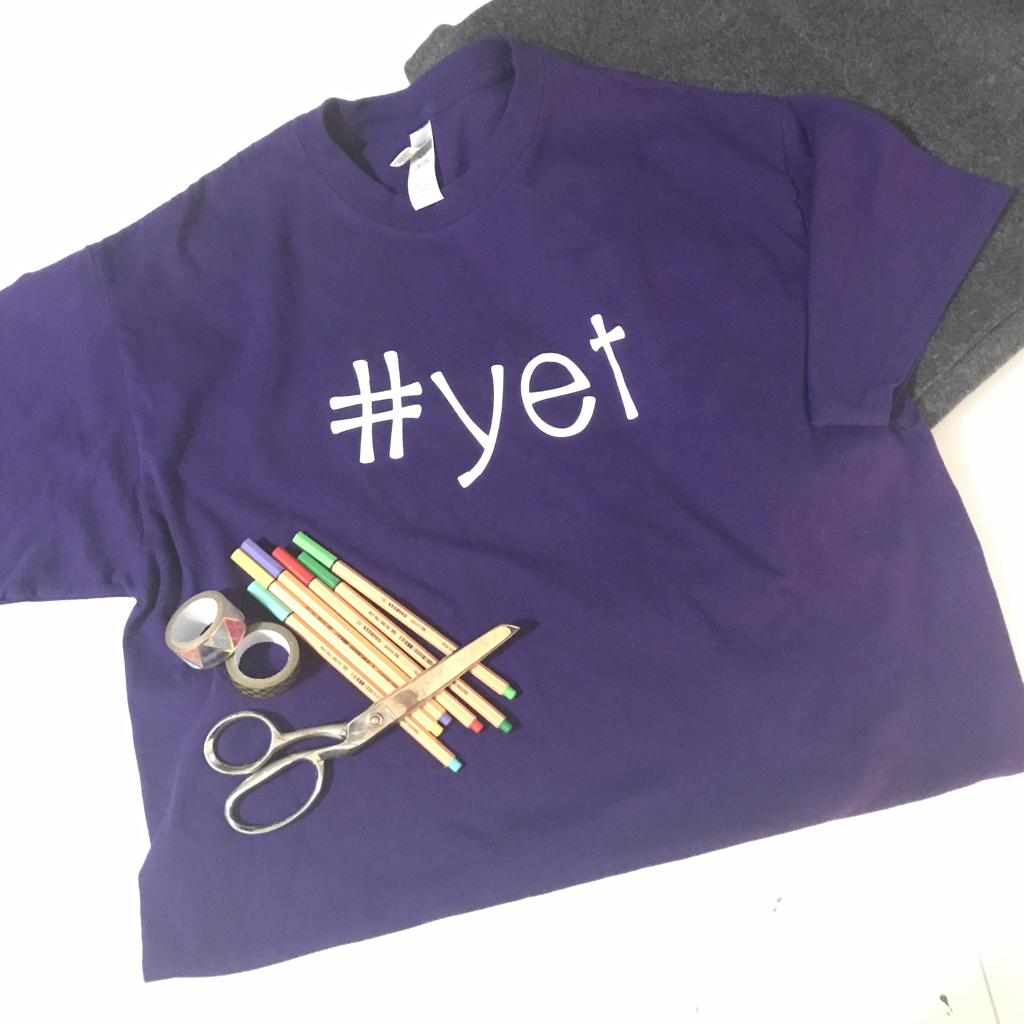
I've been really loving making custom shirts since I received my Silhouette for my birthday almost a year ago. It's so fun! I wanted to share my designs with a wider audience, but wasn't sure how.
Until now.
I now have my designs available on Amazon! I am amazed that this dream has come true. I find myself dreaming of design when I'm driving to and from school, and when my in-real-life teacher friends and I say something clever we say, "That should be a shirt!" I'm loving it.
Scroll down to see a few of my designs and let me know what you think! Do you have an original idea for a Teacher Tee that you would like to see me bring to life? Let me know!
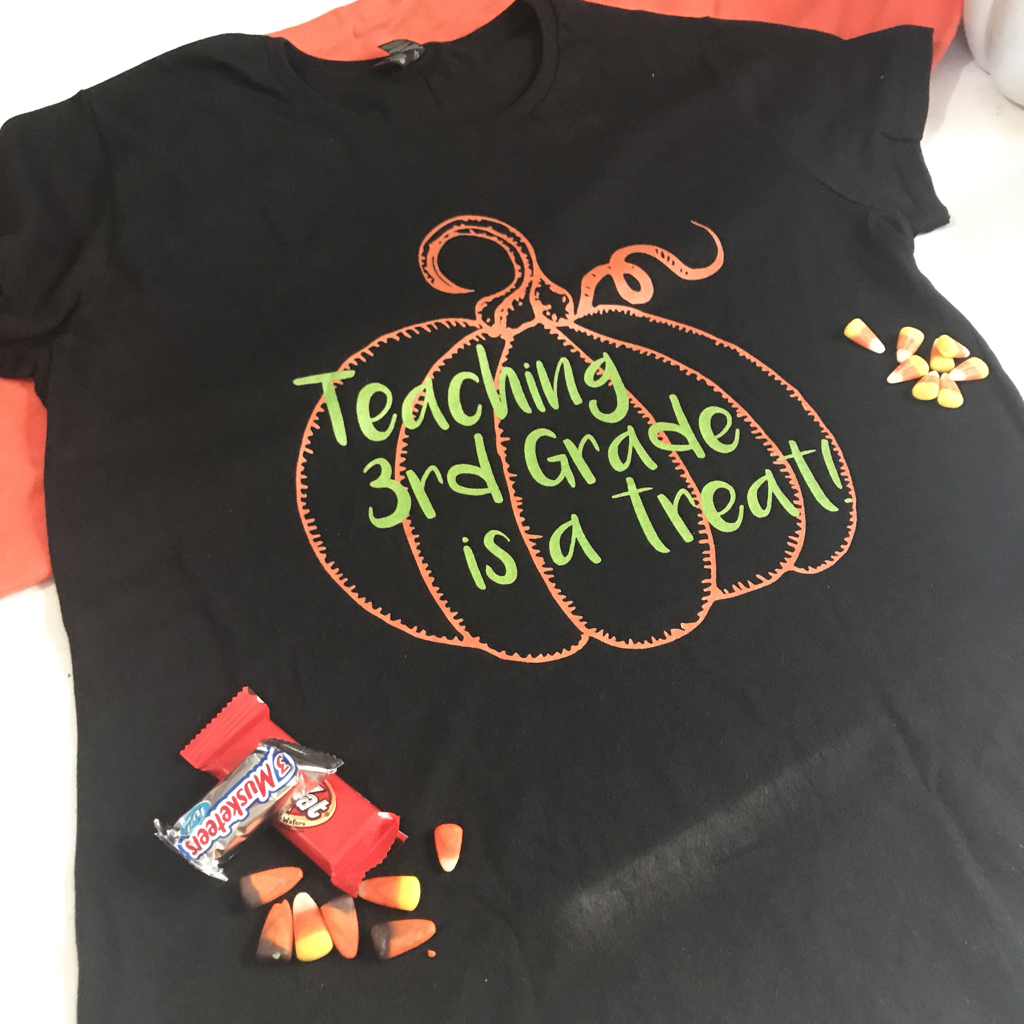
(I have this shirt for Kindergarten through 5th.)
This post contains affiliate links. "Let's Cut Class is a participant in the Amazon Services LLC Associates Program, an affiliate advertising program designed to provide a means for sites to earn advertising fees by advertising and linking to Amazon.com."
6 Comments

Hello! It's the third week of school for me and I'm finally starting to get my feet under me and feel settled! The first couple of weeks of school are so fun but it's so nice to get into the routine, you know?
I want to share with you this fun and easy art project we did the first week of school. I love it because it's easy but the end product is a piece of artwork that is impressive! It also functions as a good lesson on teamwork.
I'm going to explain how we did this project with watercolors, but really any art medium would work. It's more about the weaving and the finished product as a whole that makes a big impact.
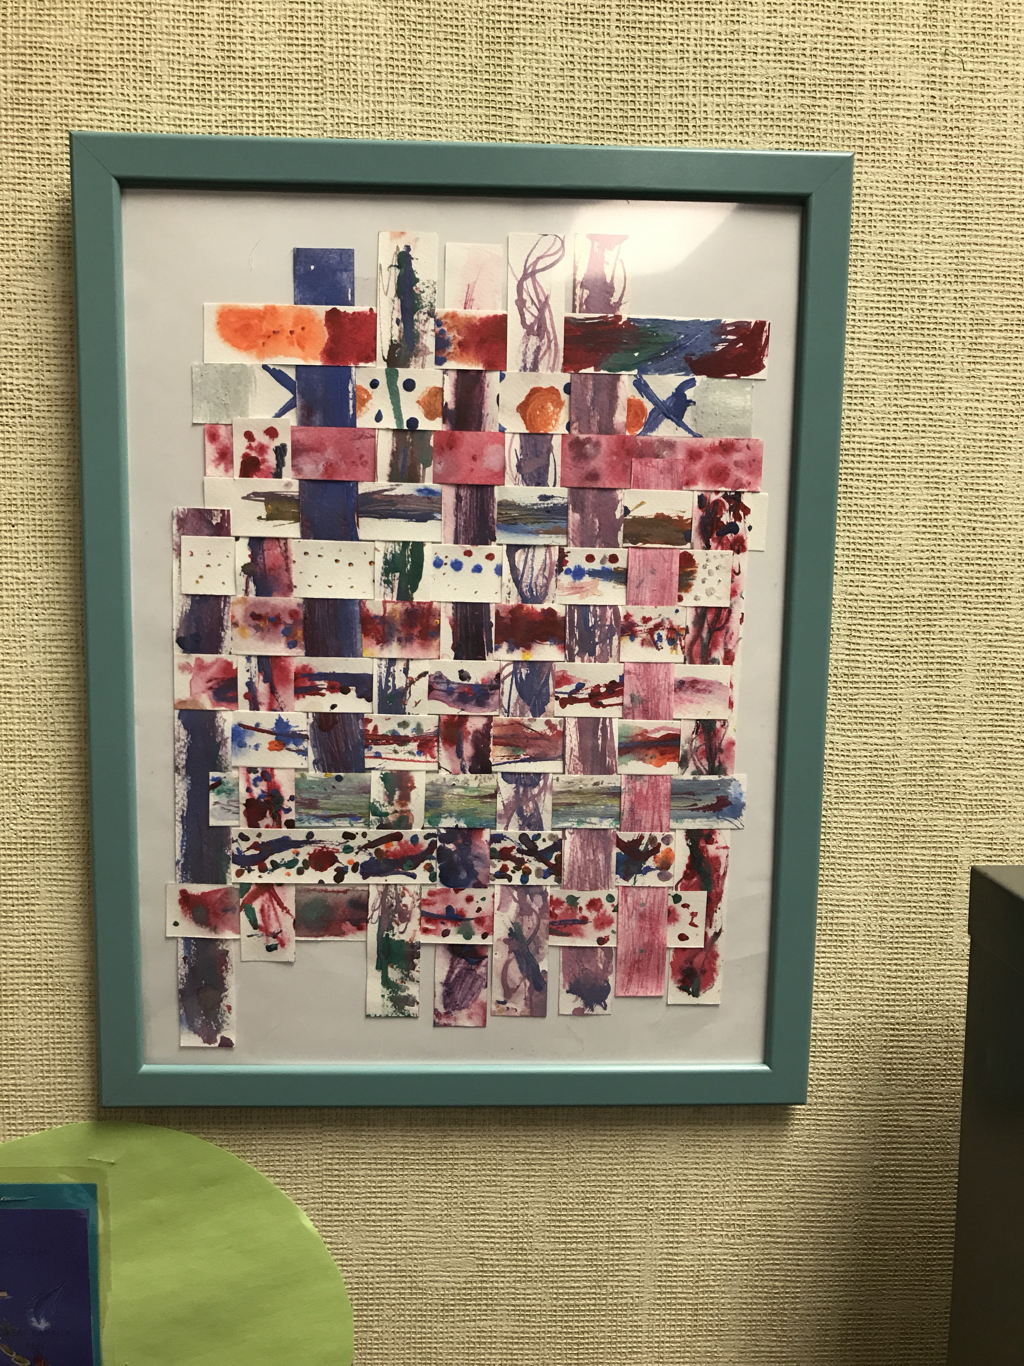
Before you start, you need to decide how you are going to mount the finished piece, as this determines the length of the paper strips. I used this frame from IKEA, but I also think it would look great mounted on black paper for contrast. My students felt really proud that their artwork was being framed. That's what we do with masterpieces, right? I cut my strips 1 inch wide and either 12 or 18 inches long. I cut enough strips for 3 per student because when we explore a new media I like to give them more than one chance at producing something they like.
Next I did a very short talk about how to use the watercolors. But I didn't give them a paintbrush. I gave them a stick. A dowel, really. I have a box of these dowels in my possession for some reason so I thought I'd give them something unexpected! They were their paintbrushes for the project.
Students painted two or three strips then decided which one they wanted to contribute to our project. Some picked their favorite to contribute, and some kept their favorite and gave up their "second favorite ". So cute! 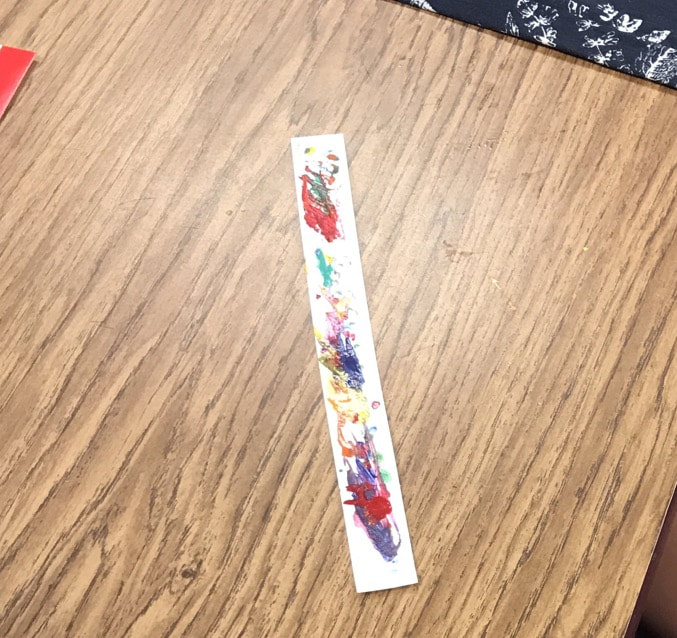
I wove the strips together by taping all the longer strips at the top and weaving the shorter strips down from there. Don't worry about being even, I personally love how it looks with some random space here and there.
When it was done we talked about the amazing piece of artwork we made TOGETHER. We named it "Together We Can Do Amazing Things" and spent the day proudly showing it to anyone who walked in our room. It now hangs in the little reading nook we have and the students are very proud.
Let's Cut Class is a participant in the Amazon Services LLC Associates Program, an affiliate advertising program designed to provide a means for sites to earn advertising fees by advertising and linking to Amazon.com
|
AuthorI'm a 2nd grade teacher and obsessive crafter who loves to share ideas! Archives
July 2018
TheCategories |
 RSS Feed
