
 Like many teachers, I love Target, especially the Dollar Spot! I try, try, try to not buy anything unless I know what I'm going to do with it, but sometimes...well, I'm sure you get it. I picked up these felt letters with adhesive backs because I have an idea for a phonics activity, which I'll share once its complete. I decided the activity would work best if the letters were magnetic, so I got to work!  You could totally do this with other letters. Start from scratch with felt or paper, or some of those punch-out letters from the teacher store. Amazon has some here. Like I said, the ones here are from the Target Dollar Spot.
 If your letter is not symmetrical, then you can just stick it to a piece of copy paper then cut it out.
Let's Cut Class is a participant in the Amazon Services LLC Associates Program, an affiliate advertising program designed to provide a means for sites to earn advertising fees by advertising and linking to Amazon.com
22 Comments
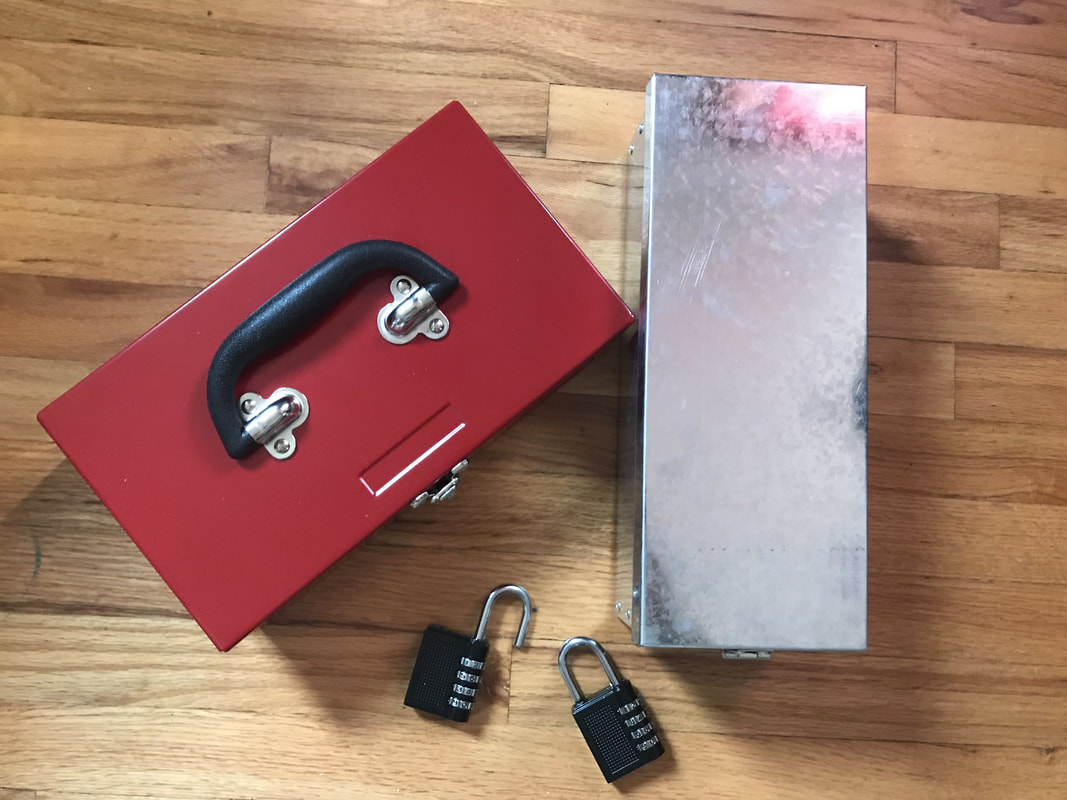
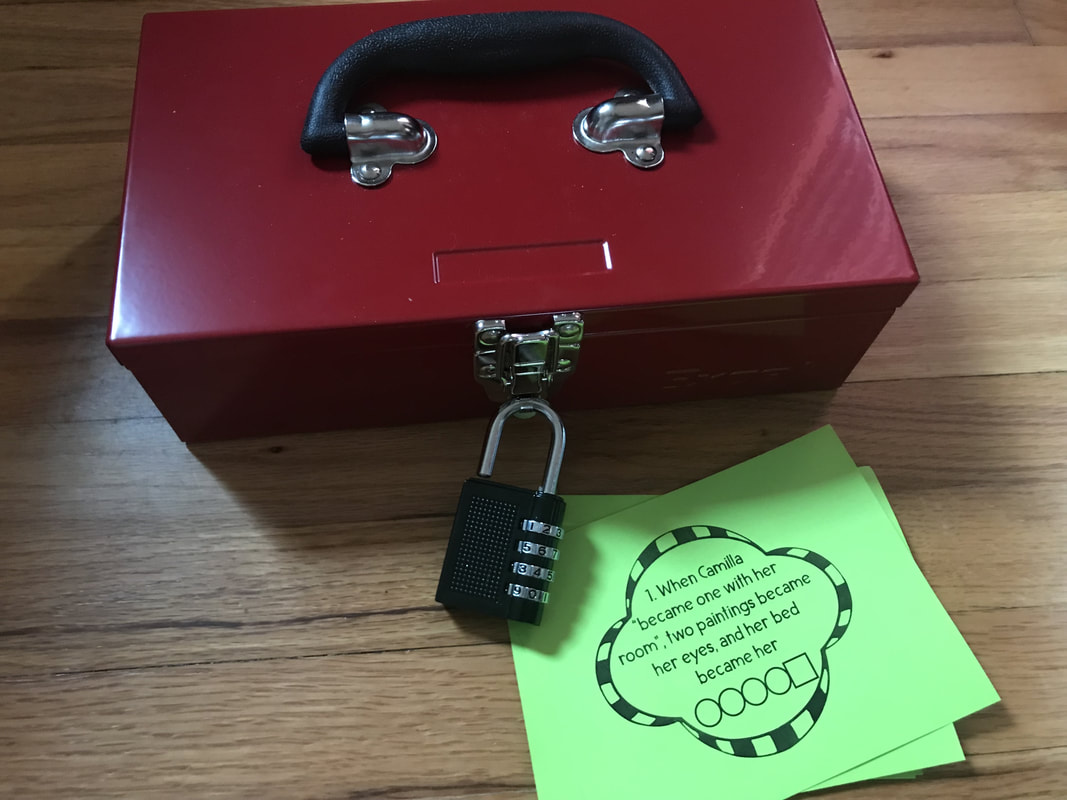
 About a year ago I learned about locked box challenges and I was immediately hooked. They may be THE most engaging activity I have ever done in my classroom. The problem I found was activities with 5 or 6 locks and other clues took me forever to set up and a lot of class time to accomplish. I wanted to do locked boxes more often with my students (and they were always begging me for more!), so I came up with the idea of Reading Rescue Minis. One box. One lock. Still tons of excitement and engagement! There are usually 4 or 5 clues, and all are reading comprehension questions. I think it's best if I give you an example...
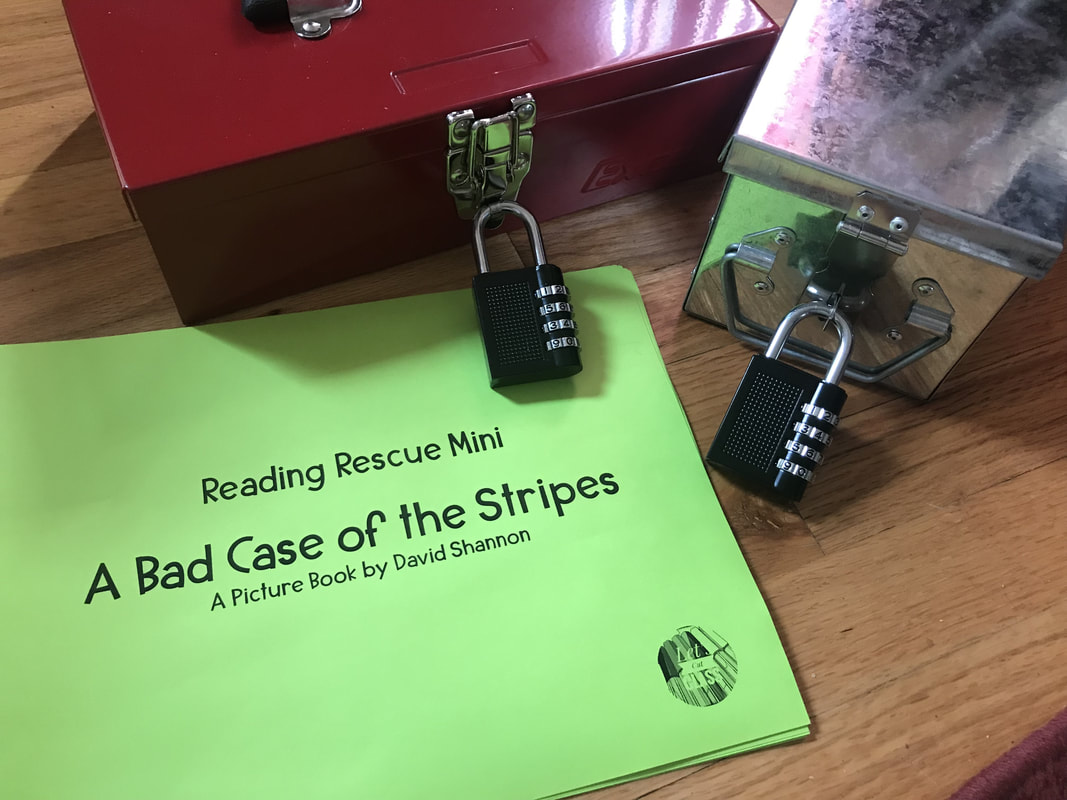
SETUP Here's my Reading Rescue Mini for A Bad Case of the Stripes by David Shannon. (The rescue is available for FREE in my TpT store!) There are 5 clues, a hint card, a challenge introduction, and a congratulations page. Simply print these pages and cut them apart. Put the congratulations page (and maybe a prize) in the box. Set the lock and lock the box up. Simple and quick! Set up in as little as 5 minutes, (not the hours I had been spending!). My students like to write on the clues, so I print a new set for each group. If you like to laminate the cards I'd have dry erase markers available.
After students read their book, I read the challenge introduction and hand over the box. Their job is to answer the questions and use the answers discover the combination and unlock the box. Sometimes the questions are numbers that add up to the combination, sometimes words are matched with numbers, there are lots of different ways to provide clues, so students never know what to expect!  Once students are familiar with the Reading Rescues I DO NOT give them any other help or hints. That is tough for me! We as teachers have been trained to scaffold and help and control the struggle. Part of the point of these challenges IS the struggle. Struggle is important for perseverence. I have found that these challenges are fun and that makes it a bit easier for kids to struggle without getting upset or giving up. The first couple of times my students did these challenges some groups didn't even open up their books. They just tried to answer the clues from memory, then gave up and handed me their hint card. I was floored! Now groups dig in with their books and do the hard work. It's so fun to watch! If you haven't tried a locked box challenge with your students, give it a try! Everyone, including you, has a blast!
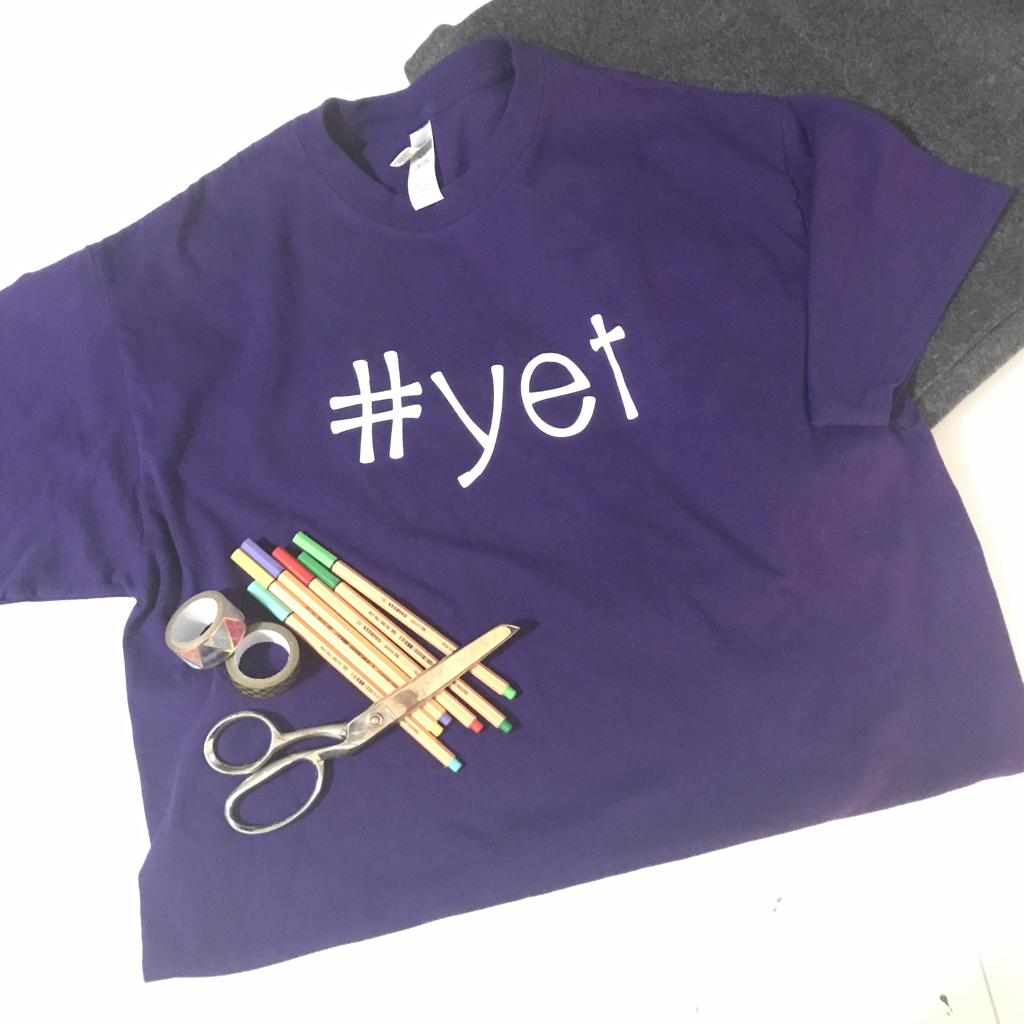
I've been really loving making custom shirts since I received my Silhouette for my birthday almost a year ago. It's so fun! I wanted to share my designs with a wider audience, but wasn't sure how.
Until now.
I now have my designs available on Amazon! I am amazed that this dream has come true. I find myself dreaming of design when I'm driving to and from school, and when my in-real-life teacher friends and I say something clever we say, "That should be a shirt!" I'm loving it.
Scroll down to see a few of my designs and let me know what you think! Do you have an original idea for a Teacher Tee that you would like to see me bring to life? Let me know!
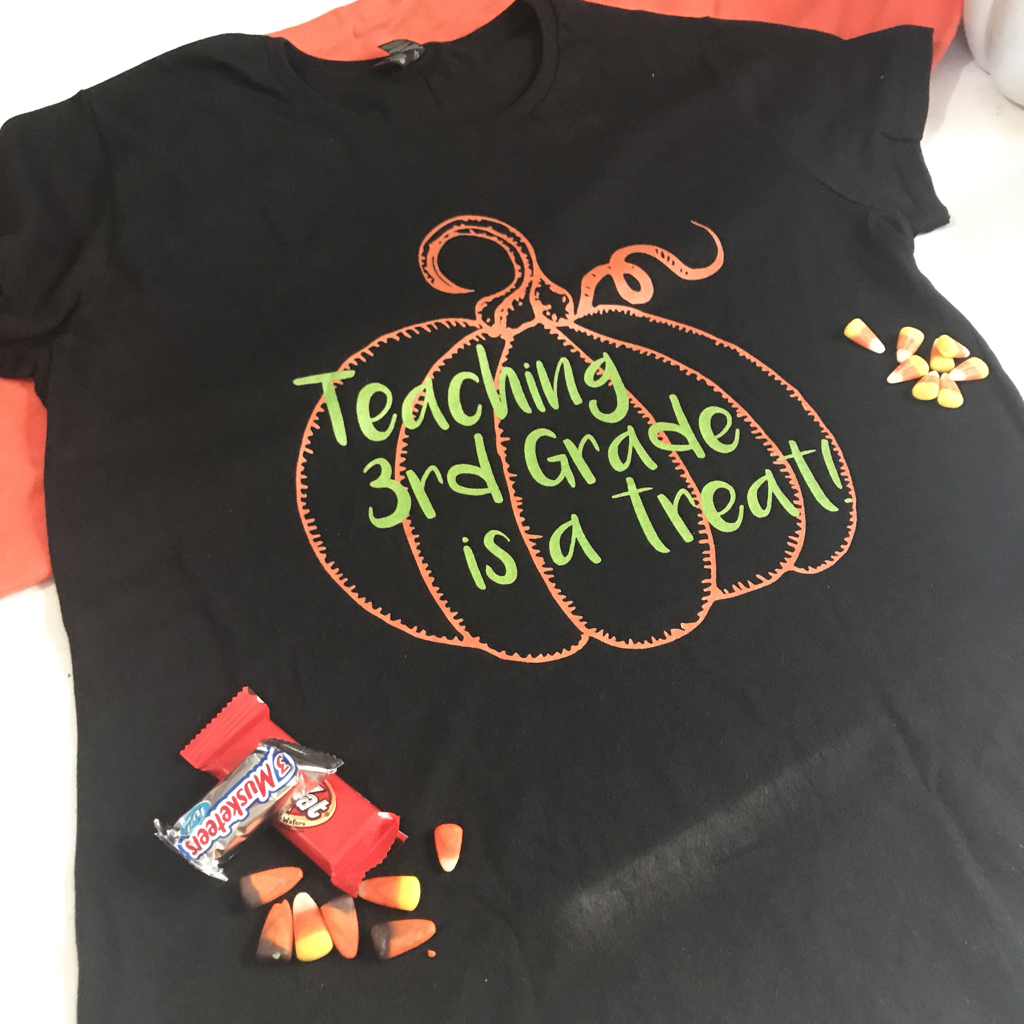
(I have this shirt for Kindergarten through 5th.)
This post contains affiliate links. "Let's Cut Class is a participant in the Amazon Services LLC Associates Program, an affiliate advertising program designed to provide a means for sites to earn advertising fees by advertising and linking to Amazon.com." 
Hello! It's the third week of school for me and I'm finally starting to get my feet under me and feel settled! The first couple of weeks of school are so fun but it's so nice to get into the routine, you know?
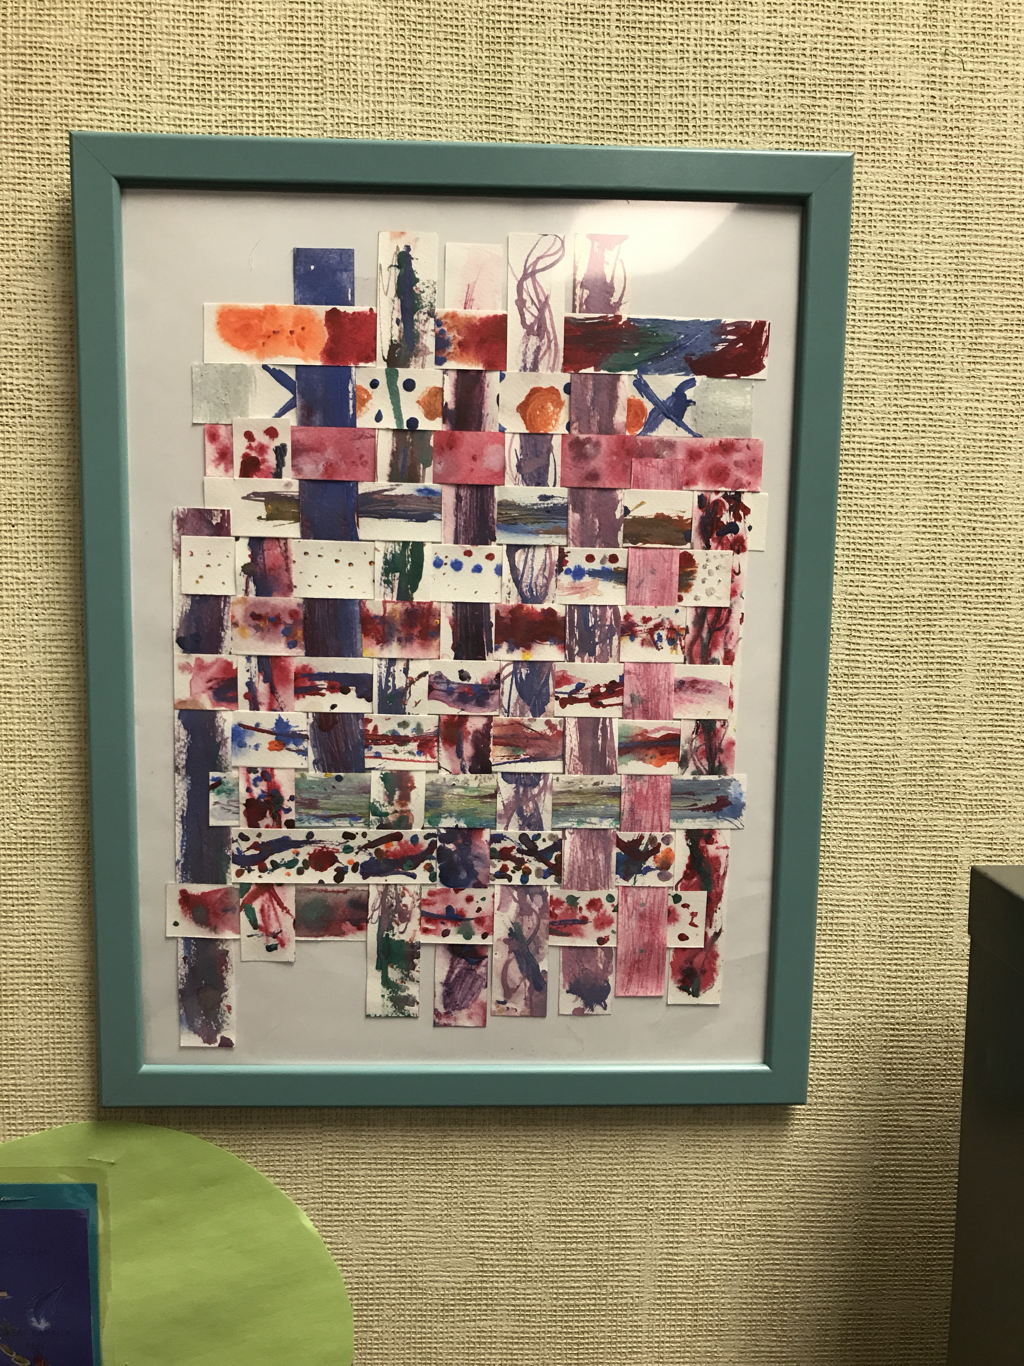
I want to share with you this fun and easy art project we did the first week of school. I love it because it's easy but the end product is a piece of artwork that is impressive! It also functions as a good lesson on teamwork.
I'm going to explain how we did this project with watercolors, but really any art medium would work. It's more about the weaving and the finished product as a whole that makes a big impact.
Before you start, you need to decide how you are going to mount the finished piece, as this determines the length of the paper strips. I used this frame from IKEA, but I also think it would look great mounted on black paper for contrast. My students felt really proud that their artwork was being framed. That's what we do with masterpieces, right? I cut my strips 1 inch wide and either 12 or 18 inches long. I cut enough strips for 3 per student because when we explore a new media I like to give them more than one chance at producing something they like.
Next I did a very short talk about how to use the watercolors. But I didn't give them a paintbrush. I gave them a stick. A dowel, really. I have a box of these dowels in my possession for some reason so I thought I'd give them something unexpected! They were their paintbrushes for the project.
Students painted two or three strips then decided which one they wanted to contribute to our project. Some picked their favorite to contribute, and some kept their favorite and gave up their "second favorite ". So cute! 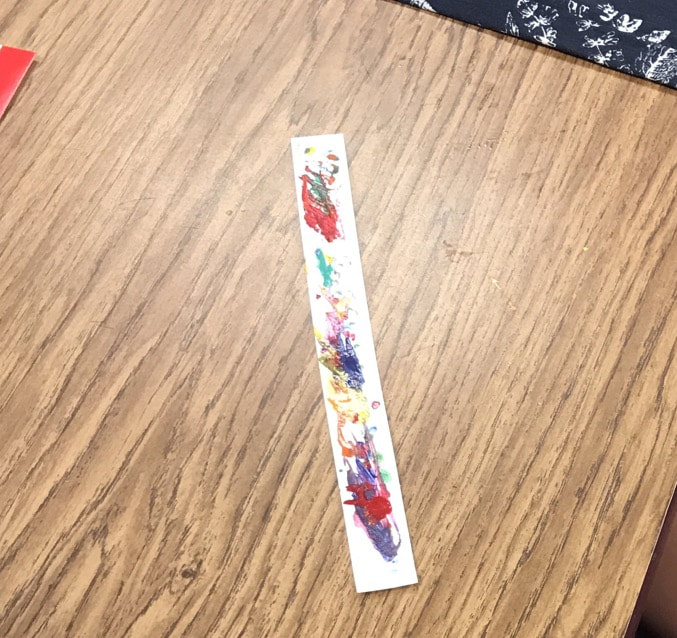
I wove the strips together by taping all the longer strips at the top and weaving the shorter strips down from there. Don't worry about being even, I personally love how it looks with some random space here and there.
When it was done we talked about the amazing piece of artwork we made TOGETHER. We named it "Together We Can Do Amazing Things" and spent the day proudly showing it to anyone who walked in our room. It now hangs in the little reading nook we have and the students are very proud.
Let's Cut Class is a participant in the Amazon Services LLC Associates Program, an affiliate advertising program designed to provide a means for sites to earn advertising fees by advertising and linking to Amazon.com
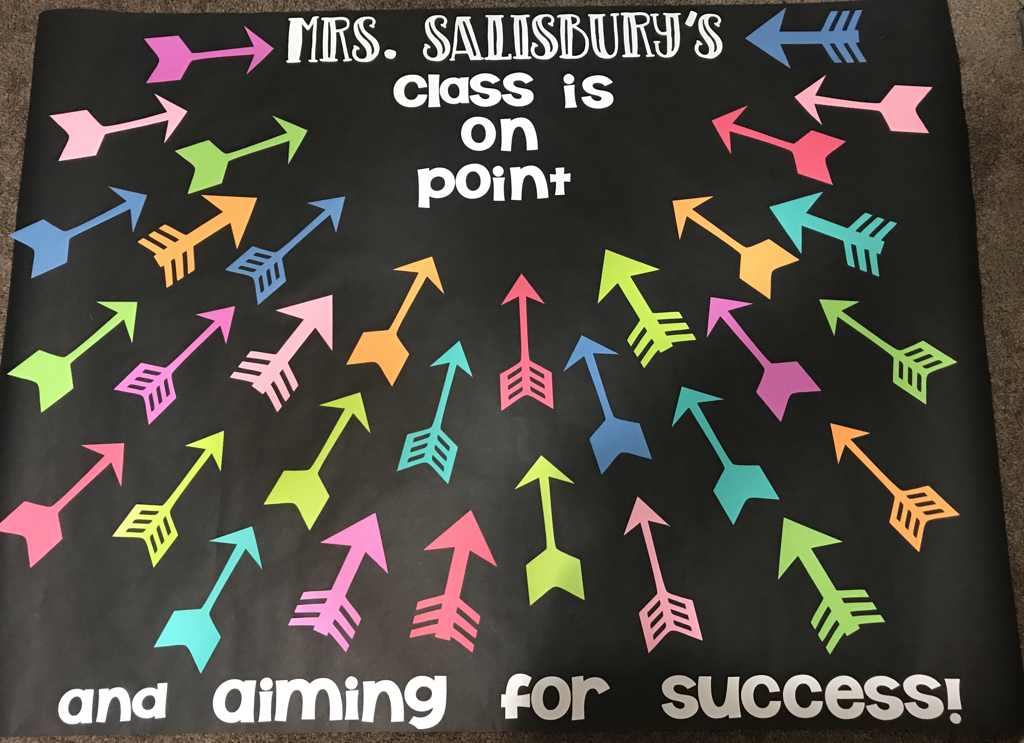
Who else makes a "Welcome" bulletin board each year? It's fun to see my new students find their name on the board and feel like they belong. It's also fun for me to pick a cheesy theme and accompanying pun. Now that I have a Silhouette, I'm enjoying the process even more! This board is ready to hang, it's just waiting for my class list so I can add names on the arrows.
I have a couple of tips to share with you, some things I do to help me each year.
Tip 1: Build your bulletin board on the floor.
Not everyone would prefer this, but our boards have to be hung high due to coat racks and I'd rather get it done without going up and down a step ladder! Another great thing about building on the floor is you can move things around before you attach them permanently. It really helps the design process. Here is one of my trials: 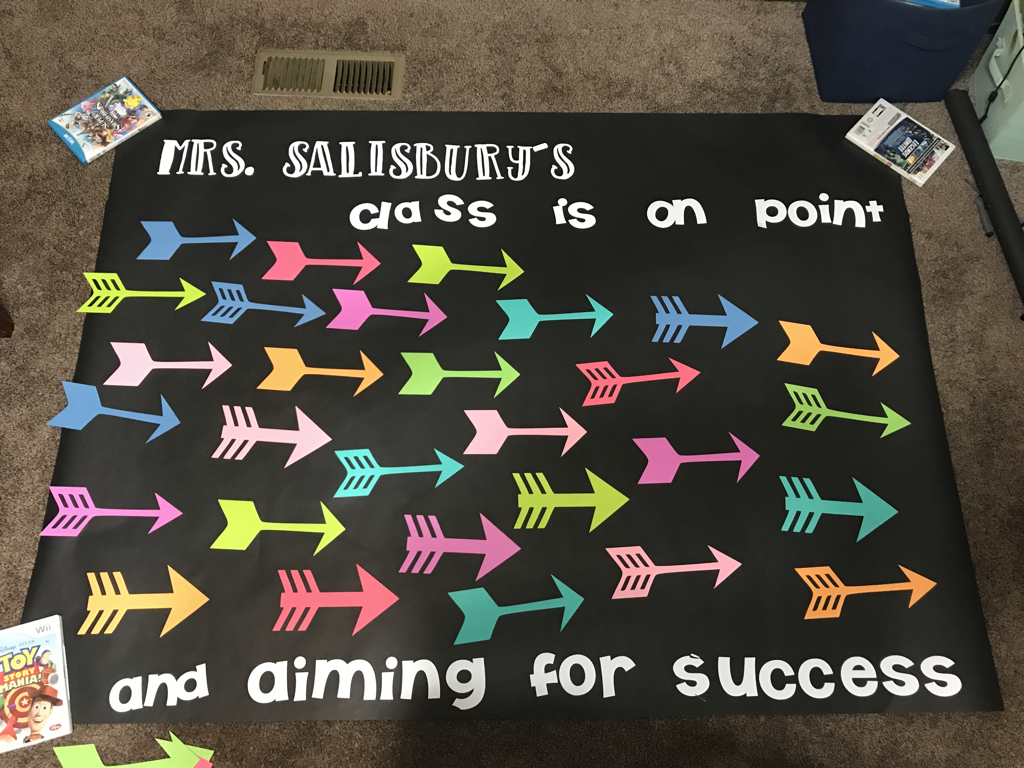
Tip 2: Have extra name pieces in the design.
I cant tell you how many times I have gained a new student the day if open house or the first day of school. More years than not I've had at least one change to my class list within days of school starting. If you have extra spaces already in the design, then you just have to add the new name and you're good to go!
This year I am crazy about arrows for some reason. The idea for this design came from wanting to use arrows! My awesome teaching team helped me with the saying and now all that's left is for me to get my class list and add the names. I also love that I got to sit at home with Netflix and make this. It's so much more fun for me to be able to make this an at home craft project instead of piece this together between meetings and professional development!
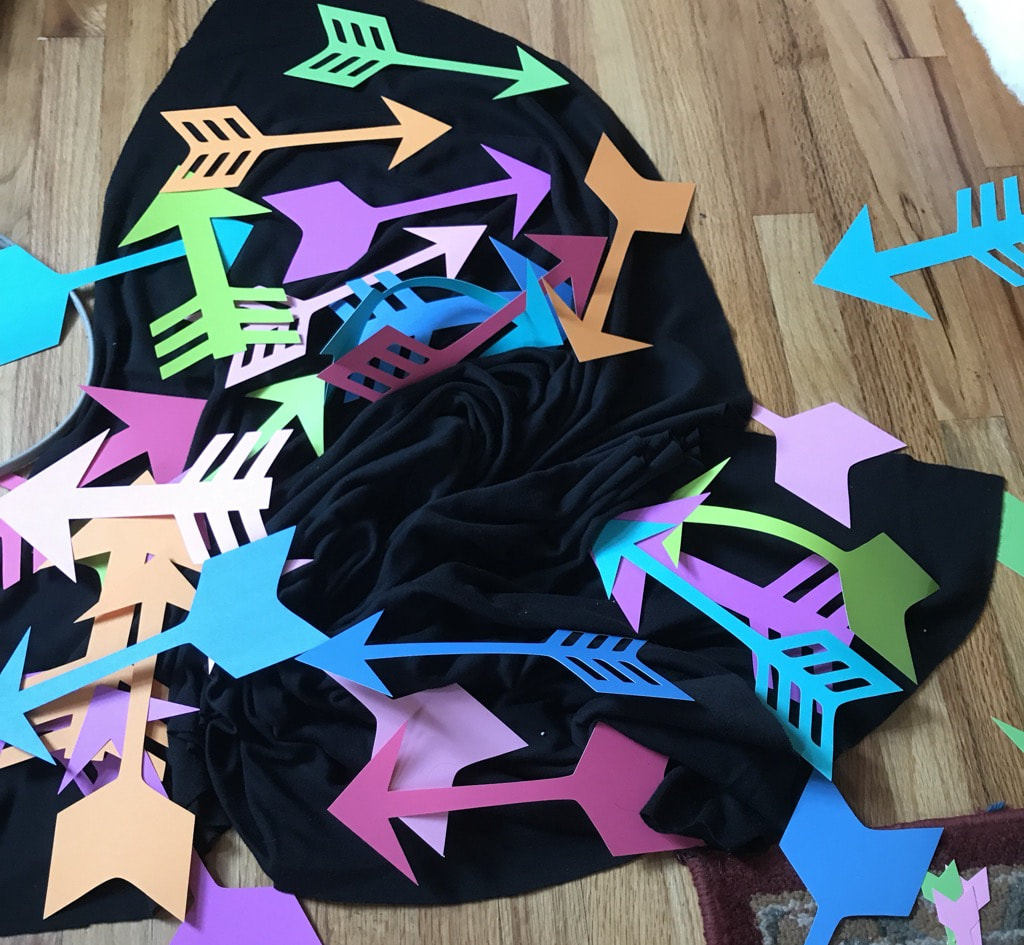
PS- This is what happens when the cat puts her two cents in on the design process:
For those of you with a Silhouette, here are the specifics:
Fonts: Cedar from fontbundles.com KG The Last Time by Kimberly Geswein and found on dafont.com Arrows: (both are from the Silhouette store) Arrow Pointer Set Echo Park Arrows
I’ve had such a great response to this bulletin board that I turned it into a cute t-shirt! Available on Amazon here:
 This post contains affiliate links. "Let's Cut Class is a participant in the Amazon Services LLC Associates Program, an affiliate advertising program designed to provide a means for sites to earn advertising fees by advertising and linking to Amazon.com."
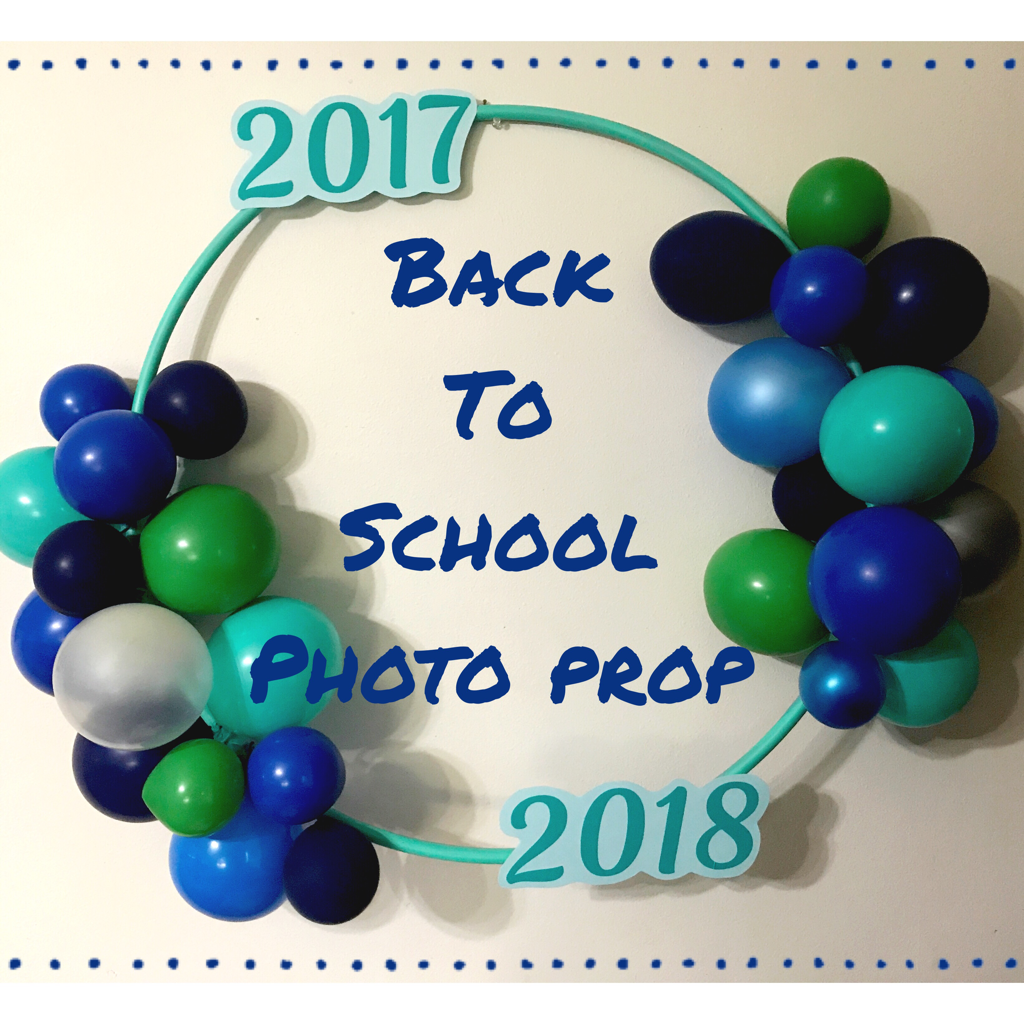
I've been seeing these hula hoop wreaths pop up on Pinterest, and it inspired me to make my own! I've been out of school for less than 2 weeks now and haven't fully hit summer mode, but I was so excited to try this I went for it! I like to have a photo backdrop or prop for the beginning of the year, and I realized this wreath will be the cutest prop. Here's how I did it:
Materials:
hula hoop spray paint balloons cardstock and/or vinyl tape
First, I painted the hula hoop. I used this paint, because I had it and I loved the color, but it doesn't stick as well as I'd like. I'd use this paint formulated for plastic next time. I did several light coats, being careful to get the sides. I didn't paint the back.

Next I blew up the balloons and added them. They are regular sized balloons from the dollar store but I only blew them up a little. I was able to find navy and royal blue in packs, then I got a variety pack to get the turquoise, silver and green. I used regular scotch tape to attach them to the hula hoop, making sure I had really small balloons at each end.

Finally I made and added the signs. I cut the dates from Oracal 631 vinyl and mounted it on cardstock, but you could use paper too.

I hope you enjoyed this tutorial! If you make one for your own classroom I'd love to see it!
This post contains affiliate links. "Let's Cut Class is a participant in the Amazon Services LLC Associates Program, an affiliate advertising program designed to provide a means for sites to earn advertising fees by advertising and linking to Amazon.com." 
One of the most satisfying parts of teaching for me is helping students discover the love of reading. I am very fond of saying, "If you don't like to read, then you haven't found the right book yet!" While I've used the term "reluctant" in the title of this post, I also like to think of these students as "picky" readers. They are not going to sit back and read just anything. Like food preferences, I have found some students devour anything and some students would rather go hungry than choose something they don't love.
Here are some ideas for students who read at a third grade level:
Each book in the series is exciting and suspenseful. Students love that, and I love that they get a dose of history each time they read one!

I think what is most appealing to students at first with Stink books is how "easy" they look. Big text and lots of pictures really help reluctant students give these books a try. They keep reading because they love the stories!

Many of my students go crazy for Bad Kitty! They find them hilarious, and there are lots of pictures to help them stay engaged. Many times during readcto self I have heard students meowing as they read these books. So cute!

Some teachers shy away from graphic novels, but I LOVE them, especially for my reluctant readers! All the pictures give good comprehension support, and they really keep students engaged.

This series is most attractive for the girls in my class. Students who love fairies and magic really love these!

These books are a reliable choice for my less confident readers. Lots of pictures, many with labels and captions, help with comprehension. There is even some interesting text support, with some words being colored or enhanced to help students understand what they are reading.

There you go- some of my go-to books for my pickiest readers! Whenever I see students wandering when trying to pick a book, or giving up on other books over and over, these books are my first recommendations. What other series would you add to the list?
Let's Cut Class is a participant in the Amazon Services LLC Associates Program, an affiliate advertising program designed to provide a means for sites to earn advertising fees by advertising and linking to Amazon.com
What read aloud to start the school year...many of us spend all summer thinking about it! We want an engaging story that will hook students, but also one that could lead us into discussions about our new classroom community and what we want it to be like all year. Here are some great books I have used to start off the school year at third grade:
This book starts with the beginning of third grade, just like your students! Judy is worried she won't like third grade, so it sets you up to have some great beginning of school conversations.

I love this book to start the year because it creates interest in and excitement for BOOKS. It is fast-paced and has puzzles to solve too. As an added bonus the author has created a game you can do in your own school library!

This book seems to get overlooked a lot, but I love it! It makes a good first read aloud because the characters have to use teamwork a lot, and don't we all want to highlight that at the beginning of the year?!?

This is actually the book I started off with last school year. Like Judy Moody, it starts of with the beginning of third grade. It easily leads to discussions about responsibilities that older kids have, as well as how we treat each other at school.
 This post contains affiliate links. "Let's Cut Class is a participant in the Amazon Services LLC Associates Program, an affiliate advertising program designed to provide a means for sites to earn advertising fees by advertising and linking to Amazon.com." |
AuthorI'm a 2nd grade teacher and obsessive crafter who loves to share ideas! Archives
July 2018
TheCategories |


 RSS Feed
